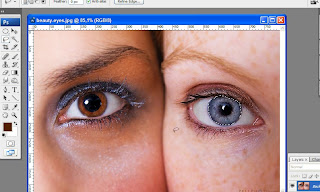
Copy the selected area, and paste it in a new layer. Make sure the new layer of eyes are on the same spot as the first layer.
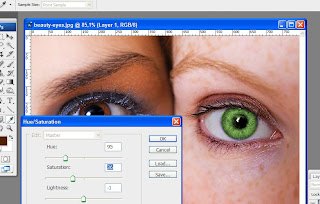
However, if you want a different colored eye, keep the second layer of eyes in "Normal" mode and go to Enhance in the main toolbar, then Adjust Color | Hue/Saturation. Choose Colorize
Set the color as you like. I’m using this setting :

Click "OK" once your satisfied with your selections.
You can leave your image like that and merge the two layers, but only if you are happy with the results. If you still want to experienced with it, set the Blending Mode at the second layer of eyes into "Overlay" or whatsoever as you like
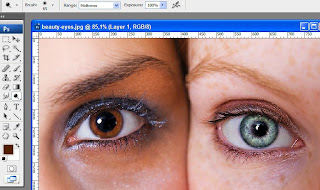
If you like the overall effect, but still wants the color looked lighter or darker, have a experienced with the opacity. For a quick lightening/darkening tool, use the "Dodge Tool" or "Burn Tool".
I lowered the Opacity of the Overlay effect to 70%. Then I used the "Dodge Tool" with a Range of 'Midtones' and Exposure of '100%' and clicked on each eye once using the tool. This is now my result:

OK. Enjoy your work!